Published 15 October 2026, Updated 16 October 2026
- Choose your appointment type (see Choosing a type and reading the calendar).
- Browse the calendar to the week you want.
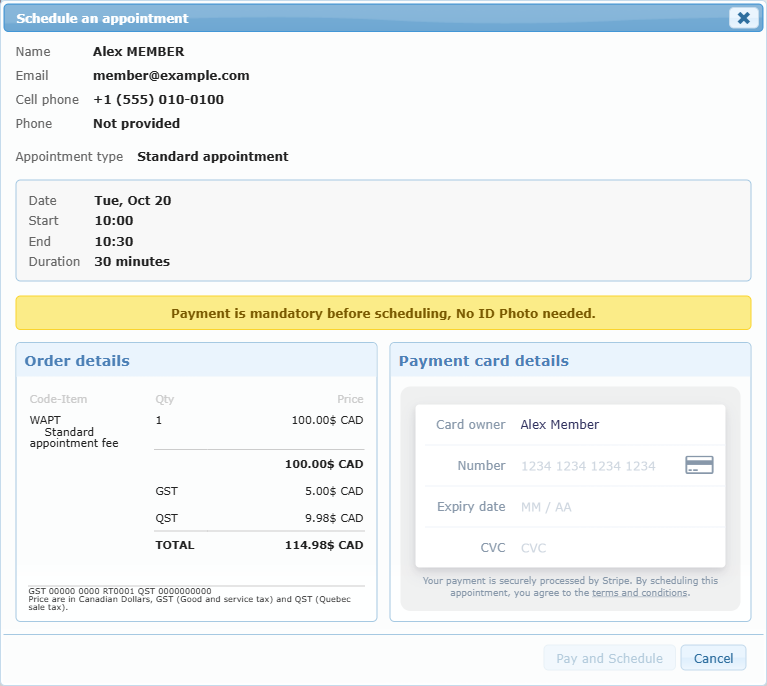
- Click an Available cell. The Schedule an appointment window opens.
- Check your name, email, cell phone and phone. These come from your AirSupervision profile. Update your profile if they are wrong.
- Check the summary: Appointment type, Date, Start, End, Duration.
- If the appointment requires payment, complete the payment section (see Paying for an appointment).
- Click Schedule (the button reads Pay and Schedule when a payment is required).
- A message confirms that the appointment is scheduled and a confirmation email is sent to you. Keep it for your records.
Your appointment now appears on the calendar under My Schedule.
Common reasons a booking is refused
| Message | What to do |
|---|---|
| You already have the maximum number of future appointments | Cancel or wait for one of your existing appointments to pass. |
| The time is no longer available | Someone just booked it. Refresh and choose another time. |
| Too early or too far ahead | Respect the minimum days of notice and the maximum booking window. |
| Appointment type no longer available | Choose a different type or contact the center. |
What it looks like on a phone
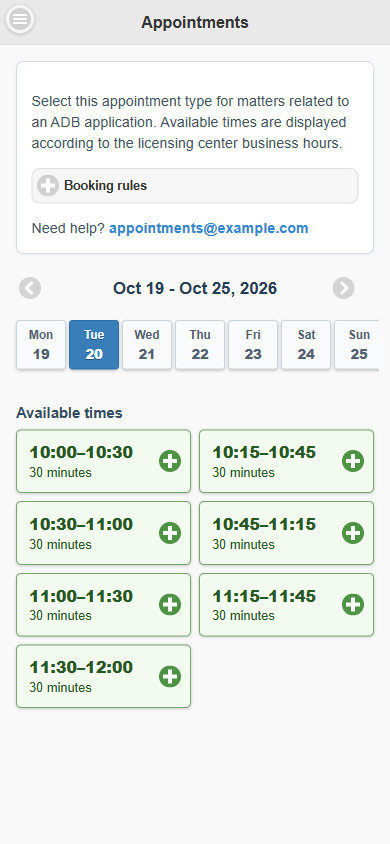
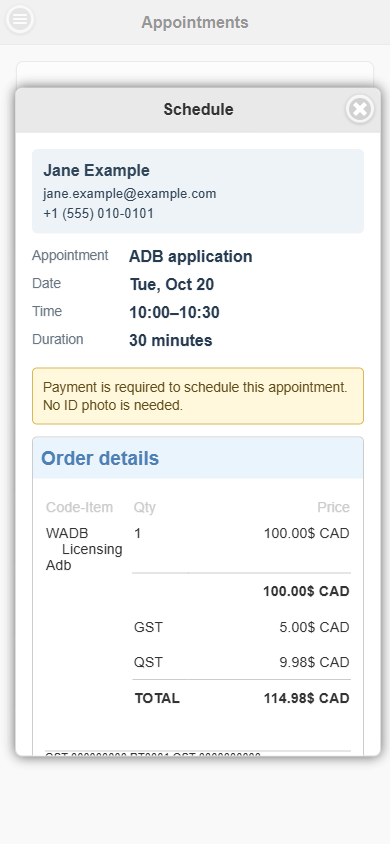
Tap a day, then tap a start time. The Schedule window shows your details and the appointment summary.