Published 14 October 2026, Updated 14 October 2026
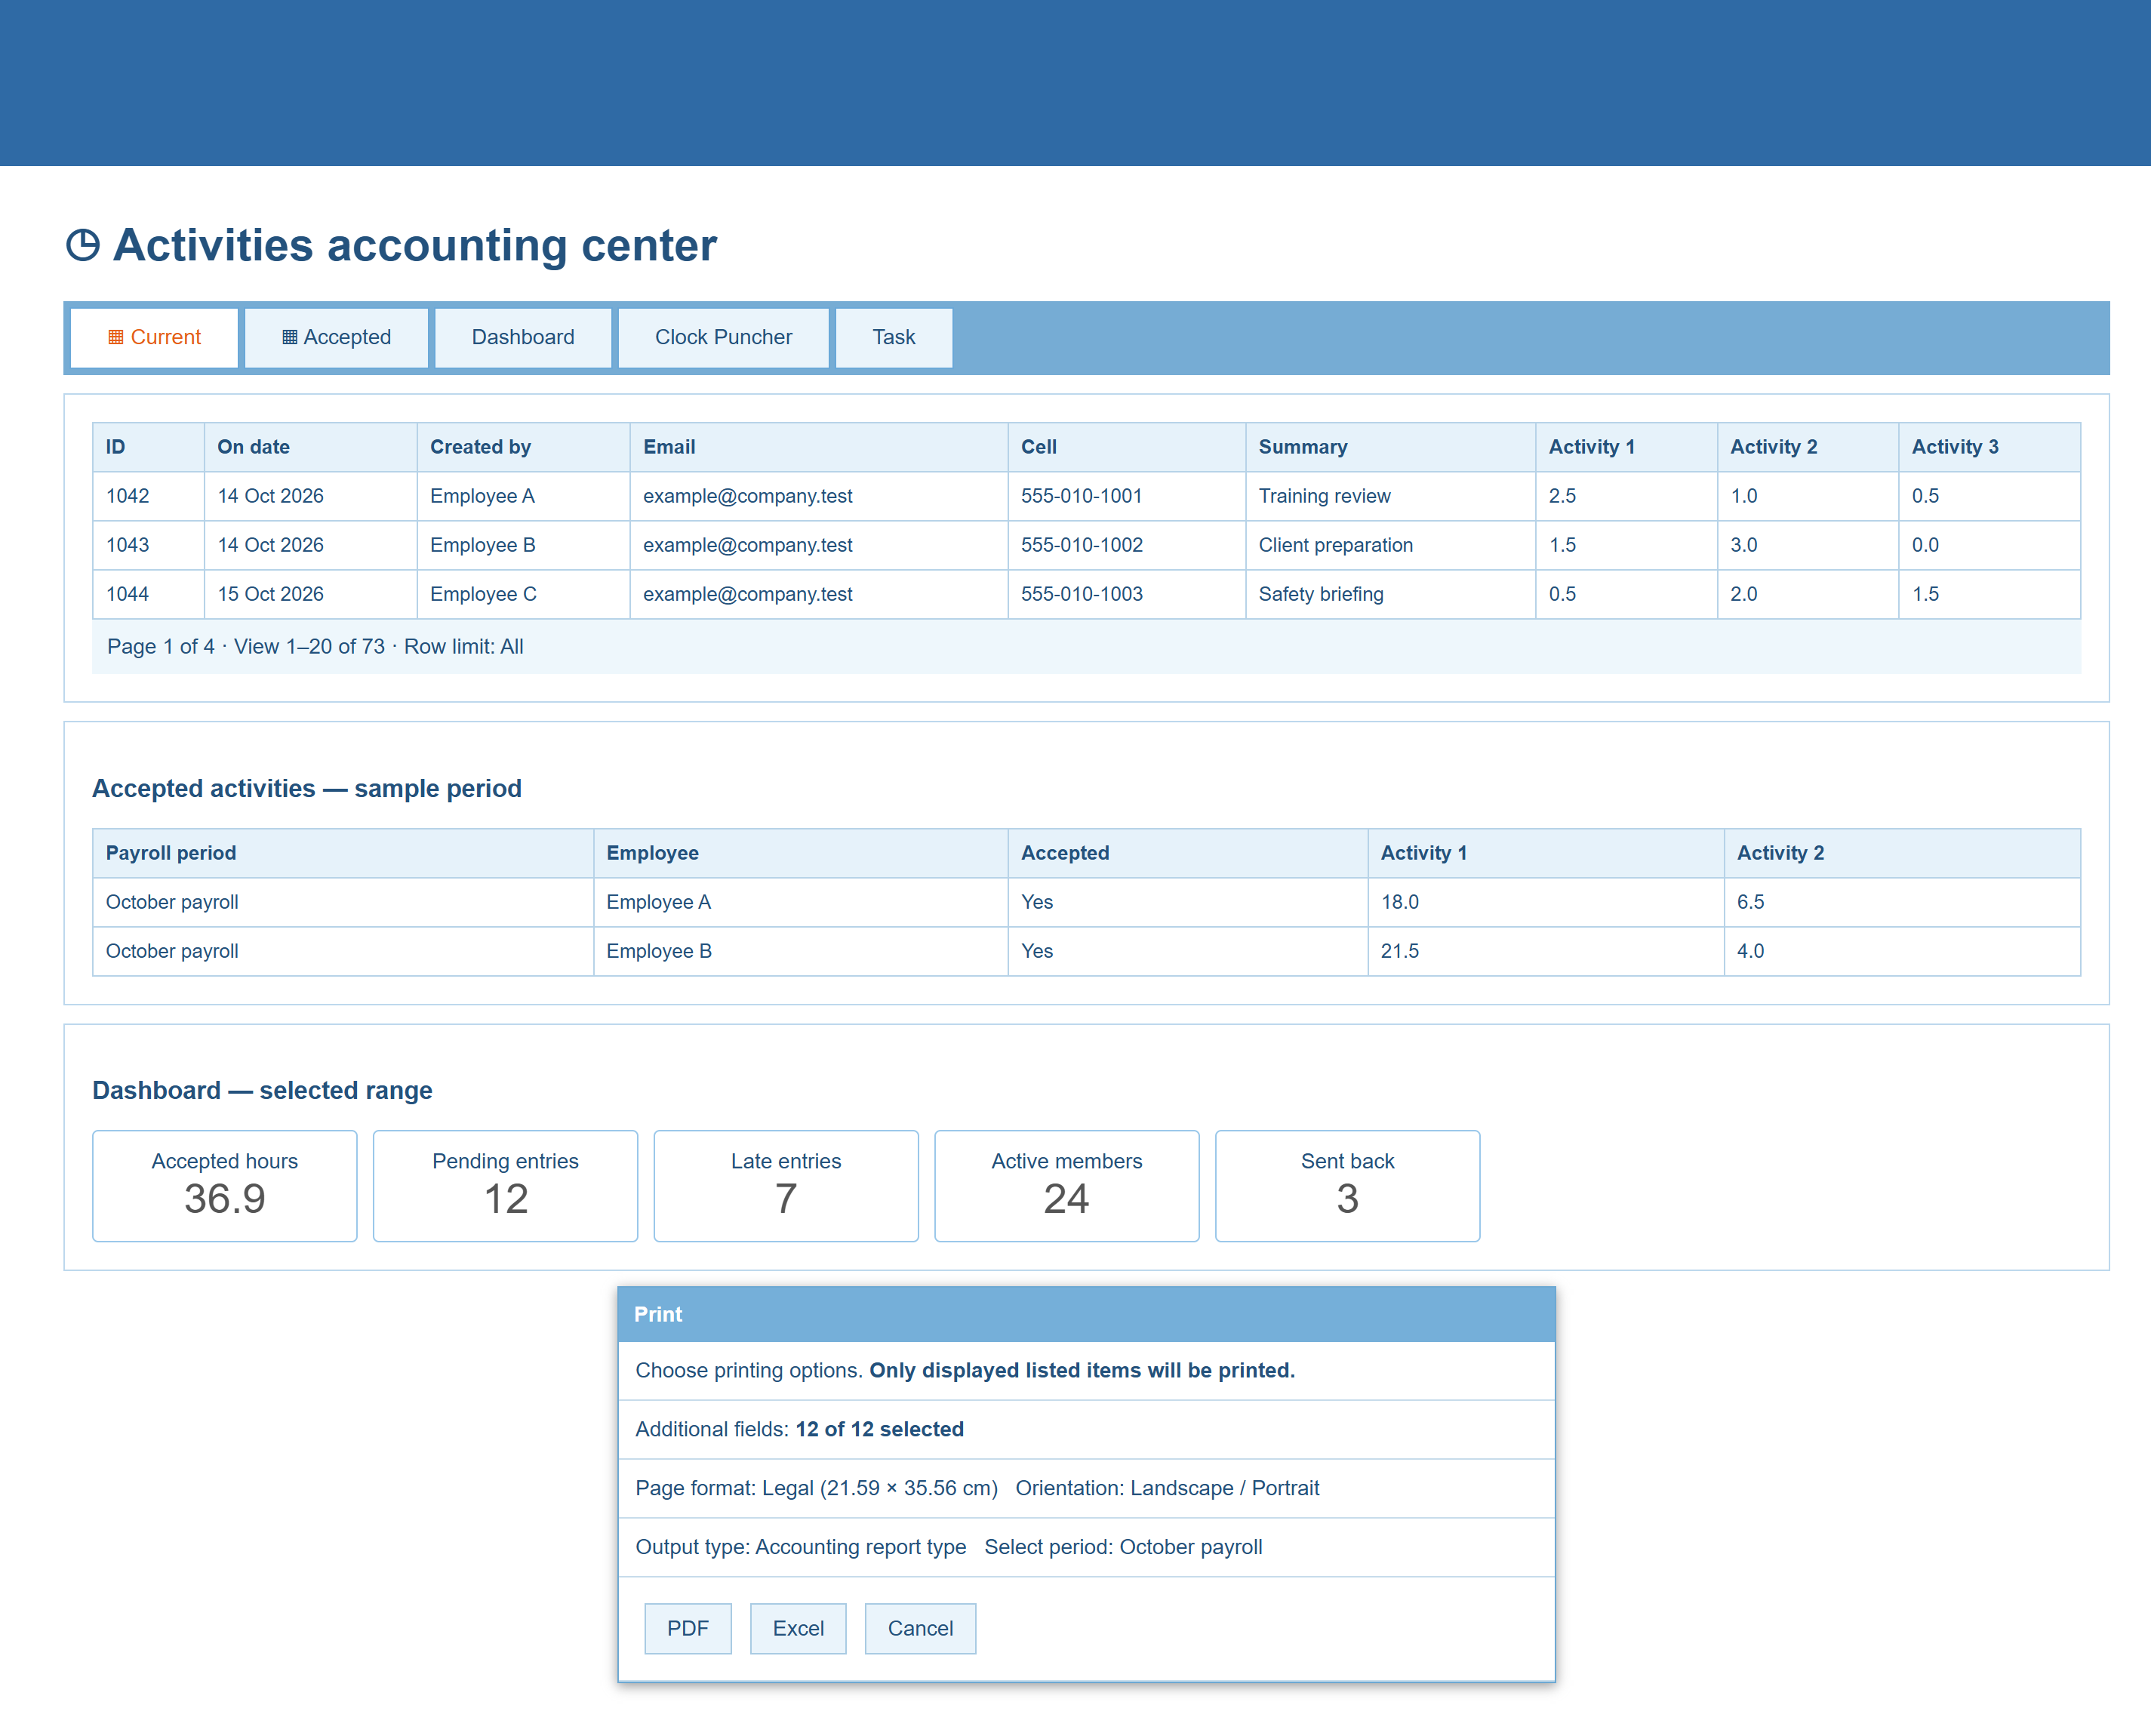
The Activities Center is the manager’s workspace for reviewing staff activities, preparing payroll or accounting reports, and following entries from submission through acceptance. It brings together current entries, accepted periods, summary charts, Clock Puncher information, and manager tasks.
Restricted area. The Activities Center is available only when the Activities feature is enabled for the organization and your profile has the required permission. Some people receive full management access, while others see “View only.” Tabs and buttons may also be hidden when your profile does not allow that action. If a colleague cannot see this area, an administrator must review the colleague’s profile permissions.
At a glance
| Tab | What it is for | Who normally uses it |
|---|---|---|
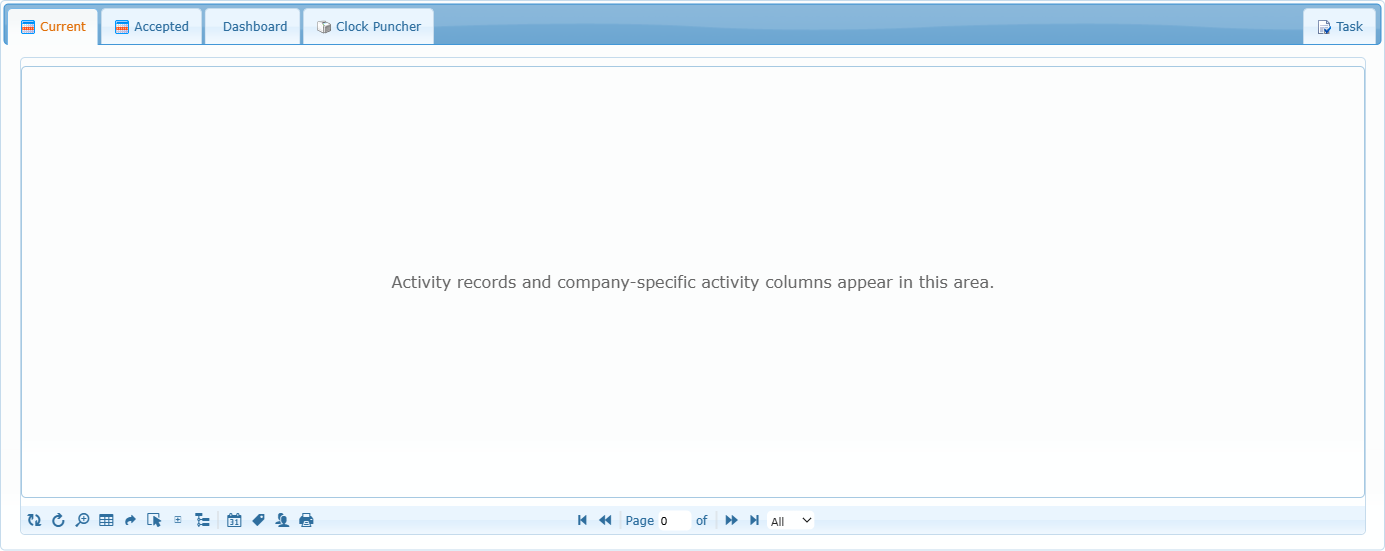
| Current | Activities still being reviewed. Use it to check, correct, hold, validate, or accept entries. | Managers, HR, payroll, and accounting staff with management access. |
| Accepted | Activities that have been accepted. They are grouped by payroll/accounting period and then by staff member. | Managers, payroll, and accounting staff. |
| Dashboard | A quick “Actual” summary plus a detailed view for a chosen date range and selected activity types. | Authorized managers and administrators. |
| Clock Puncher | Punch-in and punch-out records, devices, mobile access, reports, and related controls. | Only profiles allowed to manage Clock Puncher. |
| Task | Manager tasks connected to this work area. | Profiles with full Activities management access. |
Recommended payroll review workflow
- Open Current.
- Choose an appropriate row limit at the bottom of the list. Use All when you must review or print every matching entry.
- Filter by date, staff member, status, or activity type. Clear old filters before starting a new review.
- Open questionable rows and check the activity date, type, duration, source, and comments.
- Place an entry in the waiting list when it needs clarification, or return it to “To validate” when it is ready for another review.
- Accept the checked entries and assign them to the correct period.
- Open Accepted, confirm the period, and create the PDF or Excel report.
Reading the Current and Accepted lists
Each line represents one activity entry. The standard columns identify the date, status, staff member, contact information, summary, comment, and where the duration came from. Activity-type columns show the recorded value for that type. Point to an activity heading to read its description and category.
- Current groups entries by staff member and shows totals in the group heading.
- Accepted groups entries first by accepted period and then by staff member. Groups are normally collapsed when the tab opens; use the plus sign or the expand/collapse button to reveal them.
- The checkbox at the start of a row selects that activity. Group checkboxes help select the displayed rows in one group. The toolbar’s Select All button affects the rows currently displayed in the grid.
- The status icon distinguishes entries waiting for validation, waiting at the employee’s request, waiting at accounting’s request, and accepted entries.
- The duration-source filter can distinguish values coming from a flight record, a course, a manual entry, or an unknown source.
Important: the row limit controls what you can see and print
Do not assume that the visible page contains every entry. The row selector at the bottom can limit the list to 20, 30, 50, 100, 200, 500, 1,000, 2,000, or 3,000 rows. The Current tab also offers All and normally opens with All; the Accepted tab normally opens with 1,000. If more matching entries exist than the chosen limit, additional entries are on another page and can be missed during review or printing.
Before payroll or accounting work, compare the displayed range and total record count in the pager. Choose All when practical, or move through every page. A print made with “Only listed items” follows the current page and row limit. Selecting a named accepted period is the safest way to print the complete matching period because that option is not restricted to the current page; any active filters still apply.
Filtering, searching, and arranging the list
| Control | What it does | Good use |
|---|---|---|
| Filter boxes below the headings | Filters immediately as you type or choose a value. The date field accepts a date range. | Narrow a payroll run to one period, person, status, or activity. |
| Clear and refresh | Removes the quick filters and the special activity filter, then reloads the list. | Start a clean review and avoid carrying an old filter into a report. |
| Refresh with current filters | Reloads without changing your filter choices. | Check for newly submitted or updated entries. |
| Advanced search | Combines several rules with AND/OR. Searches can be named, saved, reused, overwritten, or deleted. | Regular payroll checks that use the same criteria each time. |
| Select columns | Shows, hides, and reorders fields. You can save the layout for later visits. | Keep only the columns useful to HR or accounting. |
| Only return rows matching selected activities | Limits the rows themselves to the selected activity types. This filter also applies to PDF and Excel output until cleared or the page is reopened. | Prepare a report for one category of paid work. |
| Reset column order | Restores the original layout and asks whether the restored layout should be saved. | Recover after columns were moved or hidden. |
| Select All | Selects or clears all rows currently displayed. | Apply a status action to the visible set. Check the row limit first. |
| Expand/collapse groups | Opens or closes all staff/period groups. | Move quickly through a long accepted period. |
| Toggle grouping | Switches between grouped and ungrouped presentation. | Compare individual entries in a flat list. |
Columns and row filters are different. Hiding an activity column only changes the presentation. Enabling “Only return rows matching selected activities” removes nonmatching rows from the list and from reports. A small “Activities filtered” indicator appears beside the columns button while this filter is active.
Working with an activity
Right-click an activity row to open its action menu. The available choices depend on your permission and on the information stored for that staff member.
- Member information: open the full profile, print a profile summary, or open flight records when that feature is available.
- Communication: send an email through AirSupervision, open your usual email program, send an internal message, send an SMS, or call a listed number.
- Notes and competency: add a quick or full profile note, or add an available competency.
- Activity actions: edit, accept, place in the waiting list, return to validation, or open the activity history.
Edit an activity
The Edit activity choice is available from the Current list. It allows an authorized manager to correct the date and time, activity type, and duration. The staff member, “With” information, status, and original comments are shown for reference but are not changed in this window. Choose Save to apply the correction; totals in the staff group are recalculated.
Use corrections carefully. The History choice shows the activity’s recorded changes and is useful when payroll needs to understand why a value changed.
Statuses and accepted periods
| Action | Meaning | What happens next |
|---|---|---|
| Set to validate | The entry is ready for a manager’s decision. | It remains in Current. |
| Set in the waiting list for review | The entry needs clarification or correction. | It remains in Current and is marked as waiting. The display distinguishes a hold requested by the employee from one set by accounting. |
| Set as accepted | The entry is approved for payroll/accounting. | You must choose a period. The entry moves from Current to Accepted and is grouped under that period. |
For a bulk action, check the required rows first and use the Selected items menu. The system asks for confirmation when many visible rows are affected and warns when more records exist than are currently displayed. Stop and refine the date range or increase the row limit if the selection is broader than intended.
Manage periods
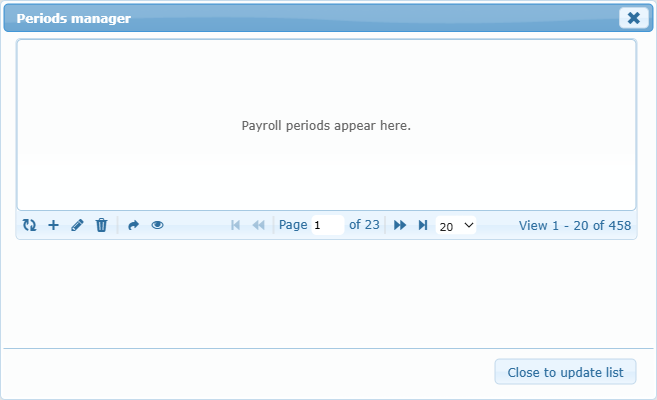
The calendar button opens the Periods manager. A period is the payroll/accounting label assigned when activities are accepted—for example, a weekly, biweekly, or monthly processing period chosen by your organization.
- Add: create a clearly named period before accepting entries.
- Modify: rename the selected period.
- Safe delete: an unused period can be removed. If activities are already attached, the period is kept and made inactive so historical records remain understandable.
- Set as active: reactivate a selected inactive period.
- Display selected period: opens Accepted and filters it to the chosen period. Double-clicking a period has the same practical purpose.
- Refresh: reloads the period list and its activity count.
Printing and Excel export
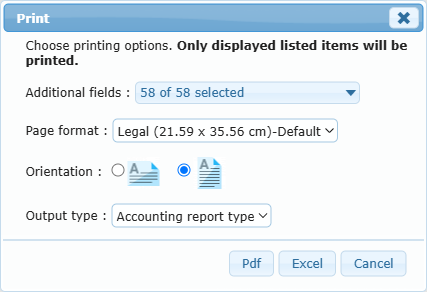
Use the printer button in Current or Accepted. The same window creates either a PDF or an Excel workbook. The bold message at the top tells you the scope that will be used.
Exactly what will be printed
| Situation | Printed/exported result |
|---|---|
| One or more rows are checked | Selected rows only. This takes priority over the rest of the visible list. |
| No rows are checked and “Only listed items” is used | The entries matching the current filters on the current grid page, up to the selected row limit. |
| Accepted tab with a named period selected | All entries that match that accepted period and the active filters. The current page limit is not applied to this period report. |
| Activity-type row filter is active | Only entries matching those selected activity types, including when a named period is printed. |
Payroll safety check: if the pager shows more records than the current row limit, “Only listed items” does not mean every matching record. Choose All, print each page separately, or—on Accepted—select the named period. Clear any unintended date, status, advanced-search, or activity-type filter before producing the final report.
Printing option reference
- Additional fields: choose which currently visible list columns should be included in a List type report. Hidden columns are not offered until they are shown in the grid.
- Page format: Letter (21.59 × 27.94 cm), Legal (21.59 × 35.56 cm), A4 (21 × 29.7 cm), or A3 (29.7 × 42 cm).
- Orientation: Landscape gives more horizontal space for many columns; Portrait is better for a short list of fields.
- Output type – Accounting report type: produces the standardized accounting layout organized for payroll review, using its established report columns. For PDF, this report uses the standard Letter landscape layout.
- Output type – List type: reproduces the chosen grid fields in a straightforward list. Page format, orientation, and Additional fields are especially important for this option.
- Select period: appears for Accepted. “Only listed items” follows the visible list/page. A named period produces the complete matching period subject to active filters.
- PDF: opens a printable document in a new tab.
- Excel: downloads or opens an Excel workbook containing the same chosen scope.
- Cancel: closes the window without producing a file.
Dashboard
The Dashboard is for checking trends and totals, not for approving entries. The Actual area summarizes the current situation. The Detailed view lets you choose a date range and one or more activity codes. Changing either choice reloads the charts. Chart legends can be used to focus on particular series, and available chart controls can prepare a printable chart view.
Use the Dashboard as a reasonableness check after acceptance—for example, to notice an unexpected drop or increase—but use the Current/Accepted lists and their reports for the final payroll detail.
Clock Puncher and Task tabs
The Clock Puncher tab is itself permission-controlled and contains specialized controls for punch records, devices, mobile punching, geolocation rules, active sessions, history, statistics, and Clock Puncher reports. See the dedicated Clock Puncher guide for the complete workflow.
The Task tab shows manager tasks in the shared task grid. It supports task creation, editing, status, dates, priority, searching, and row limits. See Tasks and Task Center for full instructions.
Activity codes (accounting administrators only)
This button is restricted to profiles responsible for accounting setup. Changes affect what staff can select and how future activities are classified. Coordinate changes with payroll before adding, renaming, hiding, or retiring a code.
The tag button opens the activity-code manager. Each code can have a group, title, plain-language description, activity category/type, hourly or per-unit treatment, active status, visibility to employees, and a list of people allowed to view it. Indicators show whether a code is used by a course or by a punch event, and the last-used date helps assess whether it is still active in practice.
- Add or modify a code: provide a clear title and description, choose the correct group and type, then set who may view it.
- Hide from employee entry: keeps the code available for reporting/history while removing it from the employee’s add-activity choices.
- Delete a code: if it has never been used, it can be removed. If it has history, the system makes it inactive instead of deleting it.
- Manage groups: add, rename, or delete activity-code groups. A group can be deleted only when no code is attached to it.
- Search toolbar: filters the code list by title, description, type, hourly/per-unit treatment, or status.
Common checks when something seems missing
- Check whether you are in Current or Accepted.
- Look at the page number, total record count, and row limit.
- Clear the quick filters and any Advanced search.
- Open Select columns and check whether “Only return rows matching the selected activities” is enabled.
- Expand collapsed staff or accepted-period groups.
- Confirm the period is active and that the entry was accepted into the expected period.
- If a tab or button is absent, ask an administrator to check your Activities, accounting, Clock Puncher, or task permissions.
Final payroll habit: clear filters, verify the row count, choose the intended period, and read the print-scope message before producing the final PDF or Excel file.